| .git-assets | ||
| static | ||
| templates | ||
| wheel | ||
| .gitignore | ||
| alpr_api.py | ||
| build_alpr_api.sh | ||
| build_and_setup_ultimatealvr.sh | ||
| README.md | ||
| requirements.txt | ||
| test_image.jpg | ||
| test.py | ||
Easy Local ALPR (Automatic License Plate Recognition)
This project is a simple local ALPR (Automatic License Plate Recognition) server that uses the ultimateALPR-SDK to process images and return the license plate information found in the image while focusing on being:
- Fast (~100ms per image on decent CPU)
- Lightweight (~100MB of RAM)
- Easy to use (REST API)
- Easy to setup (one command setup)
- Offline (no internet connection required)
Important
This project relies on the ultimateALPR-SDK, which is a commercial product but has a free version with a few limitations. For any commercial use, you will need to take a look at their licensing terms.
I am not affiliated with ultimateALPR-SDK in any way, and I am not responsible for any misuse of the software.
Note
The ultimateALPR-SDK is a lightweight and much faster alternative (on CPU and GPU) to existing solutions like CodeProject AI but it has one important restriction with it's free version:
- The last character of the license plate is masked with an asterisk (e.g.
ABC1234->ABC123*)
Usage
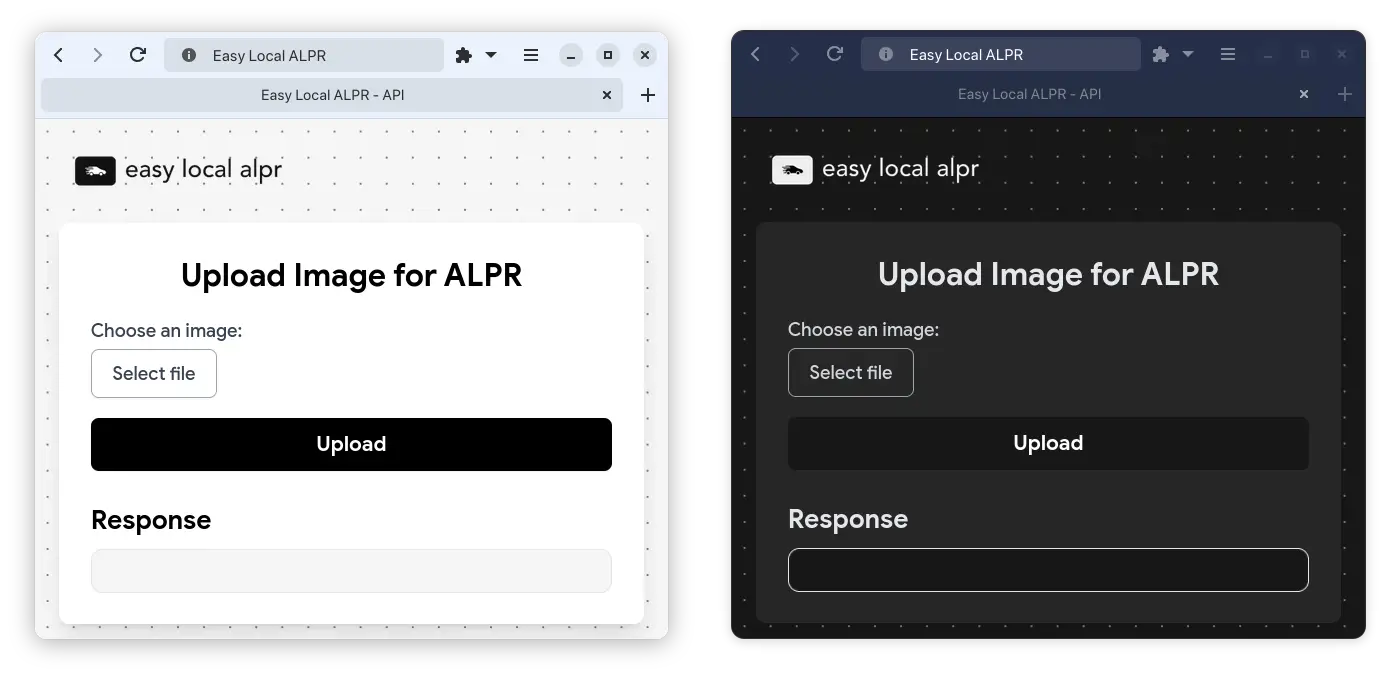
The server listens on port 5000 and has a few endpoints documented below, the most important one being /v1/image/alpr.
/v1/vision/alpr
Description
This endpoint processes an image and returns the license plate information (if any) found in the image.
This endpoint follows
the CodeProject AI ALPR API format (
example below) so it can be used as a drop-in replacement for the CodeProject AI software.
Parameters
- upload: (File) The image file to process. ( see Pillow.Image.open() for supported formats, almost any image format is supported)
- grid_size: (Integer, optional) Size of grid to divide the image into and retry on each cell when no match have been found on the whole image (default: 3) (more info)
- wanted_cells: (String, optional) The cells you want to process (default: all cells) *
(see here)*
- format:
1,2,3,4,...(comma separated list of integers, max: grid_size^2) - Example for a grid_size of 3:
  1 | 2 | 3
  4 | 5 | 6
  7 | 8 | 9
- format:
Response
{
  "success": (Boolean) // True if successful.
  "message": (String) // A summary of the inference operation.
  "error": (String) // (Optional) An description of the error if success was false.
  "predictions": (Object[]) // An array of objects with the x_max, x_min, max, y_min bounds of the plate, label, the plate chars and confidence.
  "processMs": (Integer) // The time (ms) to process the image (includes inference and image manipulation operations).
}
/v1/vision/alpr_grid_debug
Description This endpoint displays the grid and each cell's number on the image. It is intended to be used for debugging purposes to see which cells are being processed.
Parameters
same as v1/vision/alpr
Response
{
  "image": (Base64) // The image with the grid and cell numbers drawn on it.
}
More information about the grid parameter
When you send an image to the server, sometimes the ALPR software cannot find any plate because the image is too big or
the plate is too small in the image.
To solve this problem, if no plate is found on the whole image, the server will divide the image into a grid of cells
and retry the ALPR software on each cell.
You can specify the size of the grid with the grid_size parameter in each of your requests.
Caution
The higher the grid size, the longer the processing time will be. It is recommended to keep the grid size between 3 and 4.
Note: The processing time is in no way multiplied by the grid size (usually takes 2x the time)
You can speed up the processing time by specifying the wanted_cells parameter. This parameter allows you to specify
which cells you want to run plate detection on.
This can be useful if you know the plates can only be in certain areas of the image.
Tip
You can use the
/v1/vision/alpr_grid_debugendpoint to see the grid and cell numbers overlaid on your image. You can then specify thewanted_cellsparameter to only process the cells you want.
If you wish not to use the grid, you can set the grid_size parameter to
0 (and leave the wanted_cells parameter empty).
Example
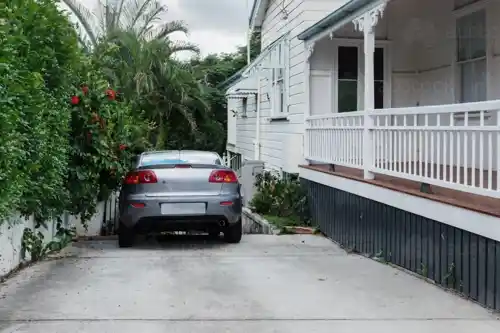
Let's say your driveway camera looks something like this:
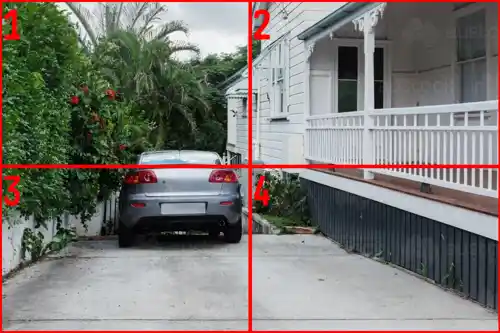
If you set the grid_size parameter to 2, the image will be divided into a 2x2 grid like this:
You can see that cell 1 and 2 are empty and cells 3 and 4 might contain license plates.
You can then set the wanted_cells parameter to 3,4 to only process cells 3 and 4, reducing the processing time
as only half the image will be processed.
Included models in built executable
When using the built executable, only the latin charset models are bundled by default. If you want to use a
different charset, you need to set the charset in the JSON_CONFIG variable and rebuild the executable with the
according models found here
To build the executable, you can use the build_alpr_api.sh script, which will create an executable
named alpr_api in the dist folder.
Setup development environment
Use automatic setup script
Important
Make sure to install the package python3-dev (APT) python3-devel (RPM) before running the build and setup script. You can use the
build_and_setup_ultimatealvr.shscript to automatically install the necessary packages and build the ultimateALPR SDK wheel, copy the assets and the libs.
The end structure should look like this:
.
├── alpr_api.py
├── assets
│   ├── fonts
│   └── models
├── libs
│   ├── libxxxxxx.so
│   ├── ...
│   └── libxxxxxx.so
└── ...
Important notes
When running, building or developing the script, make sure to set the LD_LIBRARY_PATH environment variable to the
libs folder
(limitation of the ultimateALPR SDK).
export LD_LIBRARY_PATH=libs:$LD_LIBRARY_PATH
Error handling
GLIBC_ABI_DT_RELR not found
If you encounter an error like this:
/lib/x86_64-linux-gnu/libc.so.6: version `GLIBC_ABI_DT_RELR' not found
Then make sure your GLIBC version is >= 2.36


